Investing in a Pier of d'Nort system means you’ve chosen an incredibly smart piece of marine engineering. But before you can experience the satisfying splash of your first section hitting the water, a successful installation starts on dry land. Properly unboxing, identifying, and organizing your components ensures that your setup process is smooth, quick, and completely stress-free.
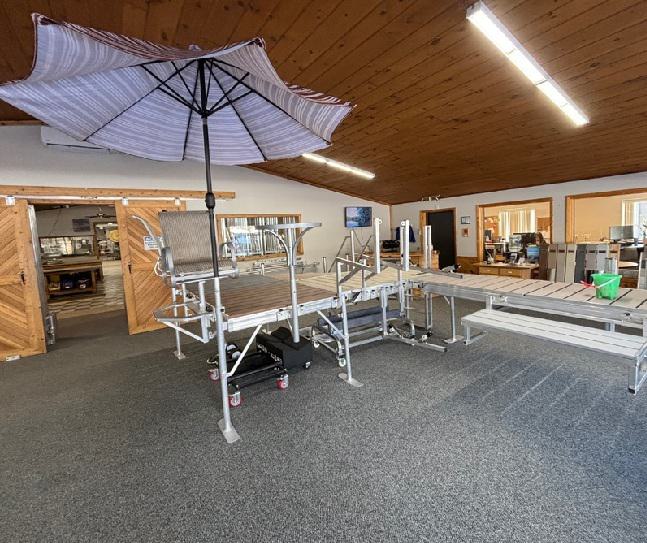
Establishing Your Work Zone & Identifying Frame Codes
Before tearing into your delivery packaging, pick a clear, flat area of your shoreline or lawn to act as your staging zone. One of the best features of a Pier of d'Nort dock is how few tools it actually requires.
The Prep & Sorting Checklist:
- Minimal Tooling Required: All you need to keep handy is a 1/2-inch wrench (or socket ratchet), a tape measure for custom layouts, and your customized layout diagram.
- Structural Sections (Marked "S"): These form the primary backbone of your straight pier layout. They are engineered to provide maximum load-bearing rigidity over standard terrain.
- Variable Sections (Marked "V"): Used in conjunction with horizontal or vertical mounts for steep shoreline drop-offs. Variable sections feature adjustable leg hinges that keep dock legs perfectly perpendicular ($90^\circ$) to the water line even when the frame slopes up or down.
- Interior Leg Orientation: Arrange your frames sequentially on the grass from shore to deep water. If your system features custom interior legs, look for the black circle markings on the frames to ensure correct orientation.
Staging Deck Panels & Shoreline Foundation
The beautiful cedar or premium vinyl panels of your Pier of d'Nort dock are completely independent of the metal frames, which is the secret to keeping the system so lightweight during assembly.
- Panel Staging: Locate your decking panels and stack them neatly near the water's edge. If you purchased a Pier of d'Nort Panel Storage Rack, assemble it first using a light rubber mallet to seat the brackets. Stacking panels vertically keeps them clean, prevents ground moisture build-up, and makes them easy to grab one by one.
- The Golden Rule of Placement: Begin by anchoring your Starter Section—the framework that mounts directly to your shore approach, seawall, or bank. Use your 1/2-inch wrench to securely anchor the shoreline hinges, level the frame across the water line, and ensure your footpads are firmly planted on the lakebed.
Comparing Dock Assembly Workflow
| Phase | Pier of d'Nort Modular Unboxing | Traditional Dock Assembly |
| Tool Requirements | Minimal: Single 1/2" wrench or socket | Heavy: Multiple sockets, wrenches, & power drills |
| Component Sorting | Simple: Clear "S" & "V" codes with layout diagram | Complex: Hundreds of bolts, brackets, & pipe fittings |
| Panel Handling | Independent: Drop-in panels staged separately | Integrated: Heavy pre-attached decking frames |
| Initial Foundation | Quick Level: Starter section anchors to bank/shore | Difficult: Complex underwater piling setup |
Quick Setup Diagnostics: Troubleshooting Your Staging Zone
Before sliding your first section into the water, run through these quick pre-assembly checks to ensure a seamless build:
- The Frame Identification Check: Verify that your "S" (Structural) and "V" (Variable) frames match the sequence on your sales diagram before carrying them to the shore.
- The Black Circle Orientation Test: If your pier includes custom interior legs or platform sections, check for the factory black circle markings. Placing frames with the marks facing the correct orientation prevents having to flip sections mid-installation.
- The Starter Level Verification: Place a level across your shore mount frame before connecting outbound sections. Ensuring a completely level foundation on Section 1 prevents compounding pitch issues farther out in deep water.
With your starter foundation rock-solid, you are officially organized, prepped, and ready to begin the seamless process of pushing your pier out into the lake.